Basic Fundamentals of Shooting
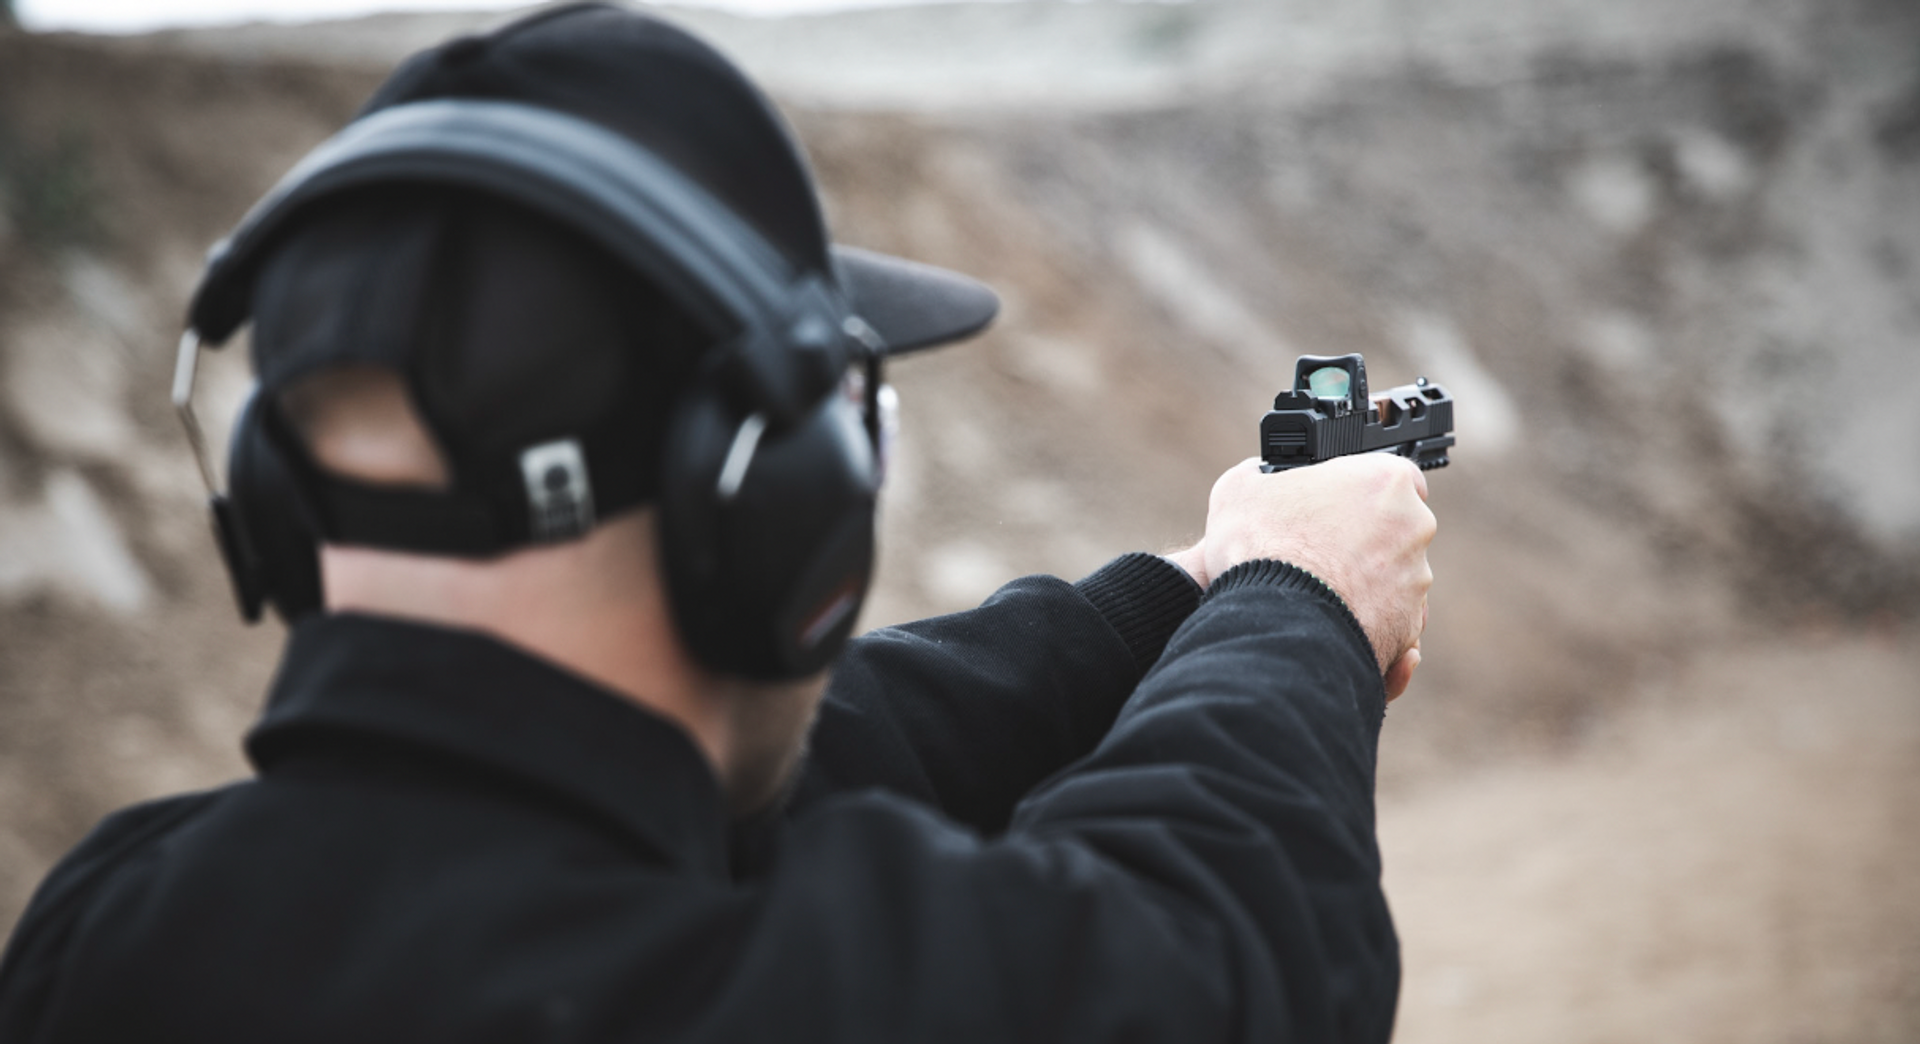
While shooting your firearm, it's important to know what it takes to make your shot every time you pull the trigger. In order to shoot well it takes a lot of dedication which is why It’s crucial that you know the fundamentals so you can practice and perfect them.
Stance
Stance is the foundation of the fundamentals. Without a proper stance, the rest of the fundamentals do not matter. But before we get into different shooting stances, it's important to understand how weight, balance impact the shots you take.
Keep your weight at the balls of your feet or forward to assist with maintaining your balance. The width of your feet and depth of your stance will influence where your weight will be distributed and that determines how you will maintain your balance.
Now, there are many different stances to choose from, but there are 3 traditional stances that are very effective.
Weaver:
The Weaver Stance is most commonly used and chances are, you most likely have seen it before. This stance helps improve accuracy and recoil management.
The first step is to hold your pistol while using your support hand to wrap around your dominant hand. Your dominant hand/arm’s elbow should be slightly bent to the point where it's almost locked out. Your support hand's elbow should be bent straight down. Now push forward with your dominant hand while your support hand applies reward pressure.
After your upper body is adjusted accordingly, lean slightly forward at the waist and position your feet in a boxing stance as if you were preparing to be pushed forward. Place your support foot slightly in front of your dominant foot and slightly bend your knees. Your dominant foot should be placed at 45 degrees to the side and behind your support foot at shoulder width apart . Most of your weight should be on the support foot and your dominant foot should be catching some of the recoil.
Isosceles:
The Isosceles Stance's name is derived from the triangle shape formed by the shooter's arms, and chest. The reason why some pros use this stance is because it provides great recoil management and mobility by enabling the shooter to possess equal movement while moving left or right.
The first step of shooting in this stance is to use the same gripping method as the Weaver stance but rather than slightly bending your dominant arm, your fully extending both of your arms and locking your elbows with the pistol held in both hands at the center of your body.
The last step is to set your feet across from each other at shoulder width apart and align your toes and body forward, directly facing the target. Now slightly bend your knees and keep your feet directly apart from each other. This position should feel more natural and comfortable than the Weaver stance while also assisting you with maintaining recoil management.
Chapman:
The Chapman Stance was developed in the special forces community and made its way into law enforcement training. This stance resembles the same traditional boxing stance as the Weaver stance but calls for your dominant arm to be locked straight out in front of you.
The first step calls for your feet to be shoulder width apart while slightly bending your knees and positioning your dominant leg slightly behind your support leg. Your dominant foot should remain at the instep of the support foot. The offsetting of the feet eliminates the rear-forward imbalance issue of the Isosceles stance. Your knees should be slightly flexed to absorb the recoil and shock while moving.
Now the Weaver persists in having two bent arms but the Chapman Stance calls for one locked arm. To achieve this stance, lock your dominant arm straight out and take your support arm and bend it while using the same push-pull grip as the Weaver stance. By locking your dominant arm, it will allow you to move and leave your head down and form a cheek weld with your arm.
Grip
Having a good grip is one of the most important fundamentals when it comes to shooting. If you’re not properly gripping your pistol, you may be missing half of the shots you’re making.
Combat/Thumbs Forward:
Grip your firearm with your dominant hand. While gripping your firearm you want to make sure you have a high grip, meaning the webbing of your thumb and index finger is as high up as possible on the beaver tail or back strap. Doing this will help control the recoil of your pistol.
Your last 3 fingers should wrap just under the trigger guard and around the base of your pistol. Finally, your thumb should be resting on the left or right side (depending on your dominant hand) just right under the slide and in the grip area. Also always make sure your trigger finger is off of the trigger unless you are ready to shoot. Take your other hand and wrap your index, middle and ring finger over your dominant hand. Make sure you are using your non dominant hand to fill up any exposed space your dominant hand is not covering. This will help with controlling recoil.
Now, using your non dominant hand, wrap your thumb around the joint of your dominant thumb. Grip tightly, but not too hard- the best way to do this is grip your pistol as tightly as possible and once you are squeezing and the pistol is starting to shake in your hand, release some pressure to the point where you are no longer shaking but still have a firm grasp. That is your ideal grip.
It is also important that you own a handgun that has a comfortable grip to hold on to. Our GST-9 is a great option, due to its interchangeable grips, it makes it an ideal option when it comes to firearm training.
Draw/presentation
Getting your firearm between your eyes and the target as quickly and efficiently as possible is the main goal while shooting. However, in order for your draw to be effective, you must be efficient when it comes to drawing your firearm- its more than just pointing your gun on the target.
To practice this, move your hand to the pistol, establish a high, firm grip while preparing to remove your firearm from the holster. Check that you're in the correct stance, placing your feet about shoulder’s width apart, with a slight bend of the knees, while placing your weight on balls of your feet.
Now remove your pistol from your holster in a straight upward motion while positioning the pistol toward the target. Move the non-firing hand into position to support the pistol by having a firm combat grip. Bring your pistol up to your sight line where your sights and target are aligned and as you push the pistol out, prepare the trigger.
Sight alignment/picture
Once you align your sights with one another, you then have to arrange the sights together on the target and that is called sight picture. Sight Picture and Sight Alignment are the two most important elements to shooting and are key to getting your shots on target.
Sight alignment is how your front and rear sights are positioned on your gun and sight picture is what your eyes see when your sights are aligned and aimed at the intended target.
If both of these fundamentals are done correctly, expect your shot to accurately hit where you intended.
Trigger Discipline and Control
When you are pulling your trigger you may not be giving it much thought but there are actually 4 different functions that happen every time you pull it.
Slack: This is the movement between where the trigger normally resets and where it breaks.
Trigger Wall: This is where you apply additional pressure and the gun actually fires.
Stop: This is where the trigger stops moving and the furthest it goes. Sometimes, depending on the firearm, the trigger wall and stop are the same point.
Reset: This is where you release the trigger and the gun is ready to fire again.
Something else you may not be noticing while pulling your trigger is what could be going wrong that is affecting your accuracy.
One of the most common mistakes that most people don't realize that they are doing is jerking the trigger back as hard as they can. Instead of jerking your trigger, give it a slow and smooth squeeze past the trigger wall all the way back to when the trigger stops itself, then release it to the reset point.
Another occurrence that may affect your trigger control happens when you're anticipating the recoil of the gun shot. The best way to test this is to clear your weapon and practice dry firing with snapcaps. If you are still anticipating a boom and are twitching while dry firing, then you should slow down your trigger pull until you are no longer expecting a loud bang.
Follow Through/Recovery
Follow through means maintaining all of the above fundamentals through the break of the round. You’re consistent with sight alignment and sight picture and are following them into recoil. It’s easier to achieve follow through when you have a solid platform, good grip, and have a full understanding of sight alignment and sight picture.
Recovery is what you do after firing your pistol. Scanning your environment and returning to your holster and working manual safeties are huge factors when it comes to recovery. This fundamental can save your life or someone else's as it is about situational awareness.
Conclusion:
Perfecting these fundamentals involves a lot of trial and error but once you get it down, your shots will become consistently accurate.Working though these drills frequently will create new muscle memory and these motions will come naturally. For best results, grab your phone and position it to record yourself while practicing to see where you can improve your form.


 Back to List