Troubleshooting your Easy Jig Gen2
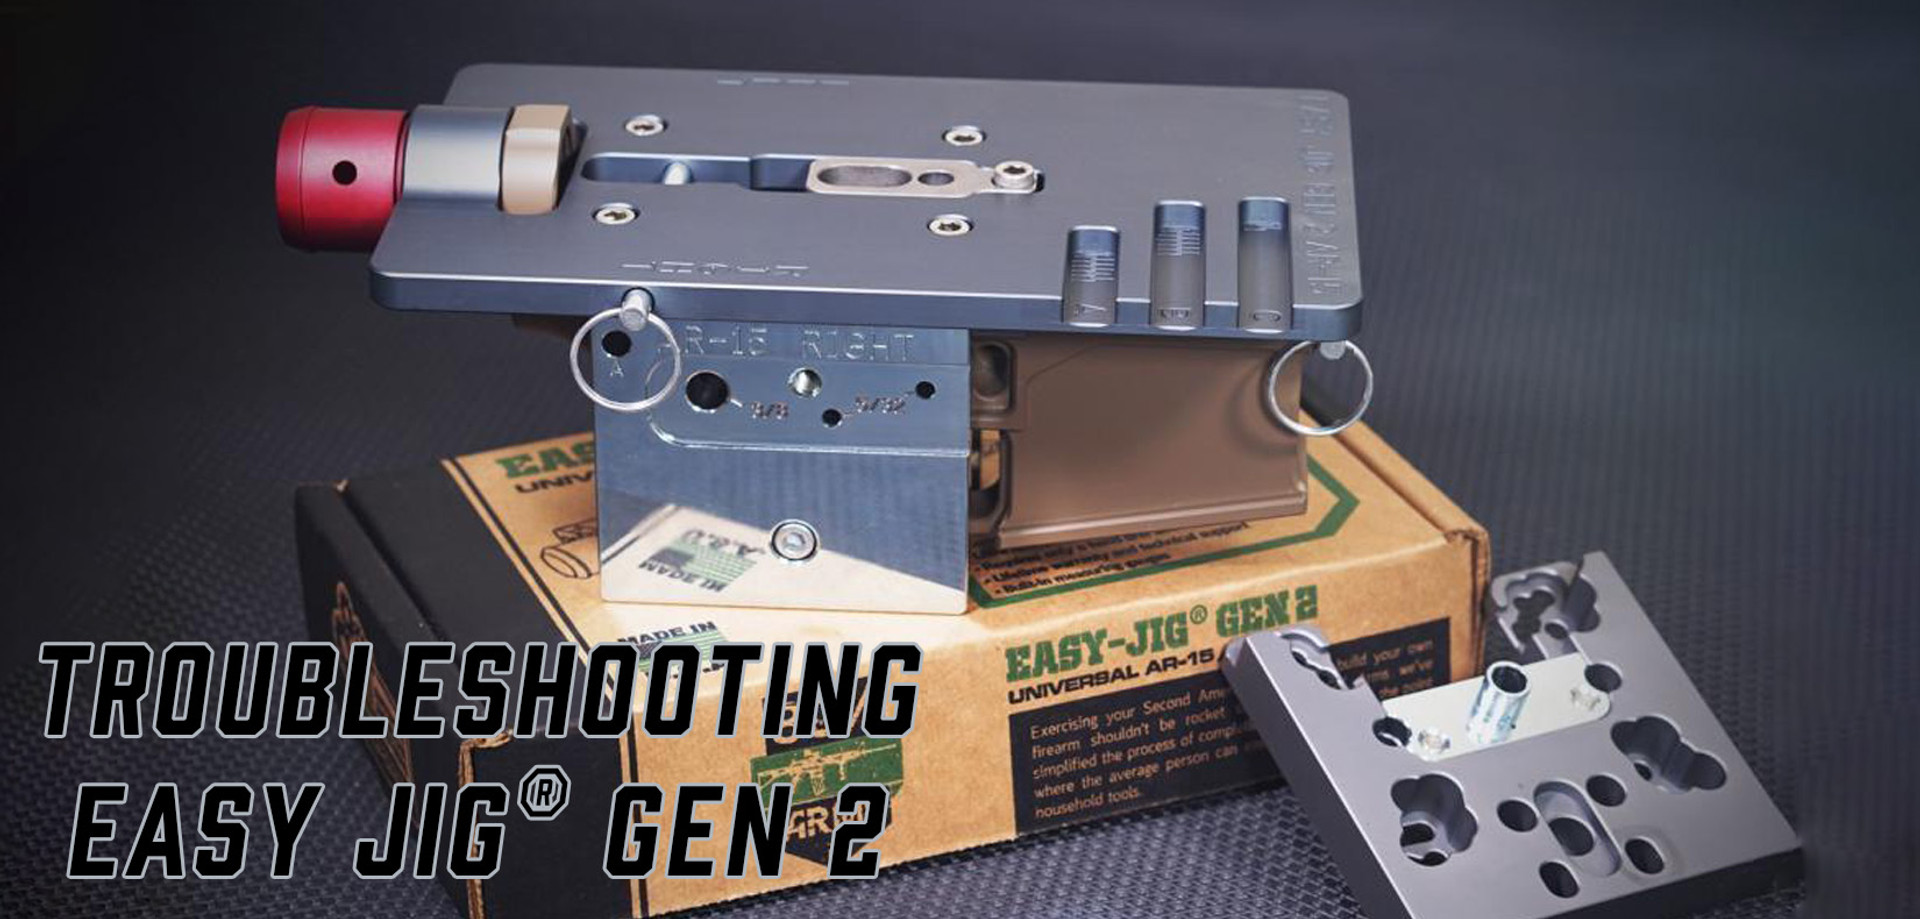
At the time of release, our Easy Jig® Gen 2 made waves by showcasing a multitude of quality of life and feature changes from our first-generation jig. This tool can mill multiple platforms. It has a single pilot hole design. It is our first 80 lower jig with a dedicated router plate.
Before the release of the Gen 2, the standard jig design out on the market typically required multiple pilot holes and was generally a pretty arduous milling experience.
Although it served as an easier-to-use 80 percent lower jig than our first-gen and many others, we’ve received inquiries over the years about issues our customers have run into. This blog will be your guide to troubleshooting or even prevent you from running into any snags along the way.
Understanding the Easy Jig Gen 2
For those unfamiliar with the Easy Jig® Gen 2, it’s a good idea to understand the fundamentals. It was an aluminum-based jig system that allowed users to mill out 80% lower receivers into a completed lower. Along with AR15 lowers, the “Multi-Platform” variant allowed users to also mill out AR10/LR-308 80% lower receivers. Because AR-9s follow the same specs as an AR15, it is possible to also mill out an AR9 lower using the jig.
As stated before, the single pilot hole design was groundbreaking as it allows users to mill out lowers in a matter of hours versus days. The router plate design lowered the barrier of entry for anyone to start milling out their own lower. With our Gen 1 and drill press jig, attention is required so that the jig top plate isn’t damaged. However, with the Gen 2’s router plate bushing and alignment tool, the endmill never makes contact with the top plate.
Easy Jig Gen 2 Parts Anatomy
Taking a look closer at our second-generation jig, there are 3 main sections of the system: the top plate, side walls, and router plate. Featuring an all-aluminum construction, the core components provided a very durable method of milling out 80% lowers.
This jig was also the first of our product lineup to ever secure a lower receiver with a buffer support screw. By using the buffer and front takedown pinhole as attachment points, the physical dimensions of a lower receiver will not affect compatibility.
With jigs at the time and even now, they opt for a clamshell style in which the jig envelops the lower receiver. This provides a very secure fitment however restricts users to the dimensions of the lower that the jig can accept.
Common Misconceptions and Challenges of the Easy Jig Gen 2
Below we showcase the most common mistakes and challenges that customers faced when using our Easy Jig® Gen 2. Our hope is that this information can be used to better serve you in your build processes and some of these examples also apply to Easy Jig® Gen 3 owners as well.
Example 1: Unintentionally Wearing Out the Side Plates
Although aluminum can be a very hard material, the drill holes on the side plates can easily be worn out if precaution isn’t made. We later mitigated the issue with our Gen 3 Jig by integrating hardened steel bushings.
However, the issue is caused by lateral pressure being applied towards one side when drilling out each of the individual holes. Wear is typically done when drilling out the safety holes as more force is required. With drill bits typically being harder than aluminum, the side walls can easily be chewed away within a few lowers.
Example 2: Endmill Slipping
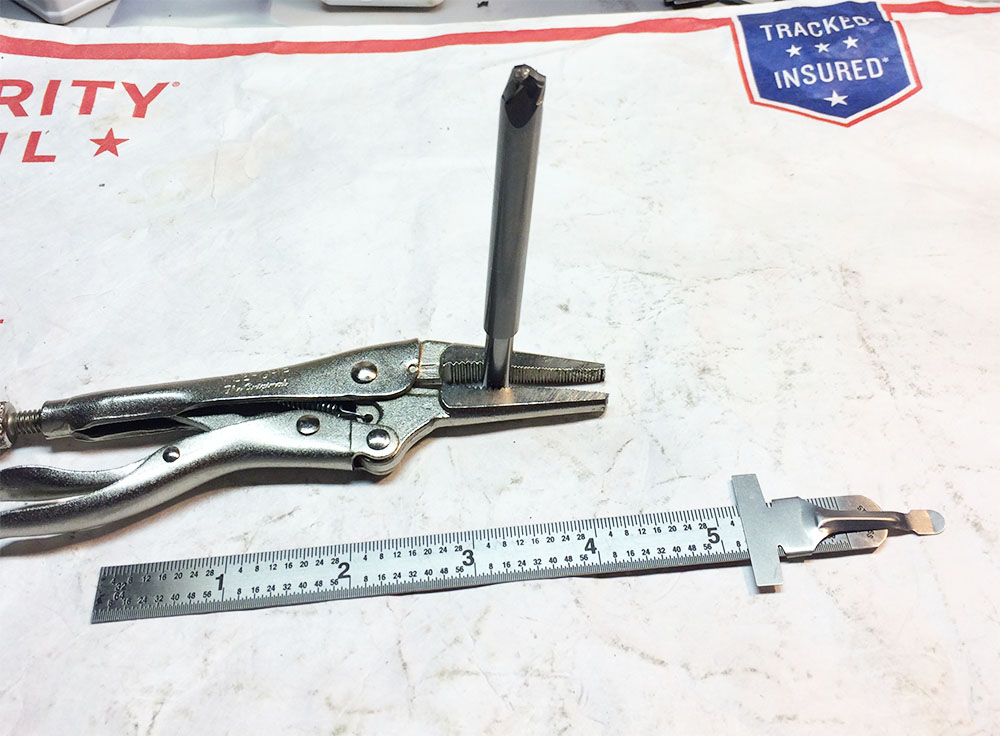
Photo Source: 80 Percent Arms Customer
Included with the Gen 2 Jig Tool Kit is a 5/16 solid carbide endmill that is reduced at the end to accommodate handheld routers. This easy-to-fit endmill is installed onto routers into a tightening collet that is screwed down.
If the endmill is not tightened enough, it can slip out from the collet and potentially bounce around when milling. As dangerous of a situation as that sounds, it is few and far between.
More than likely what occurs is the endmill will slowly slip from the router and will mill out more material than intended. Eventually, it can break through the trigger pocket of the lower and into the trigger guard area.
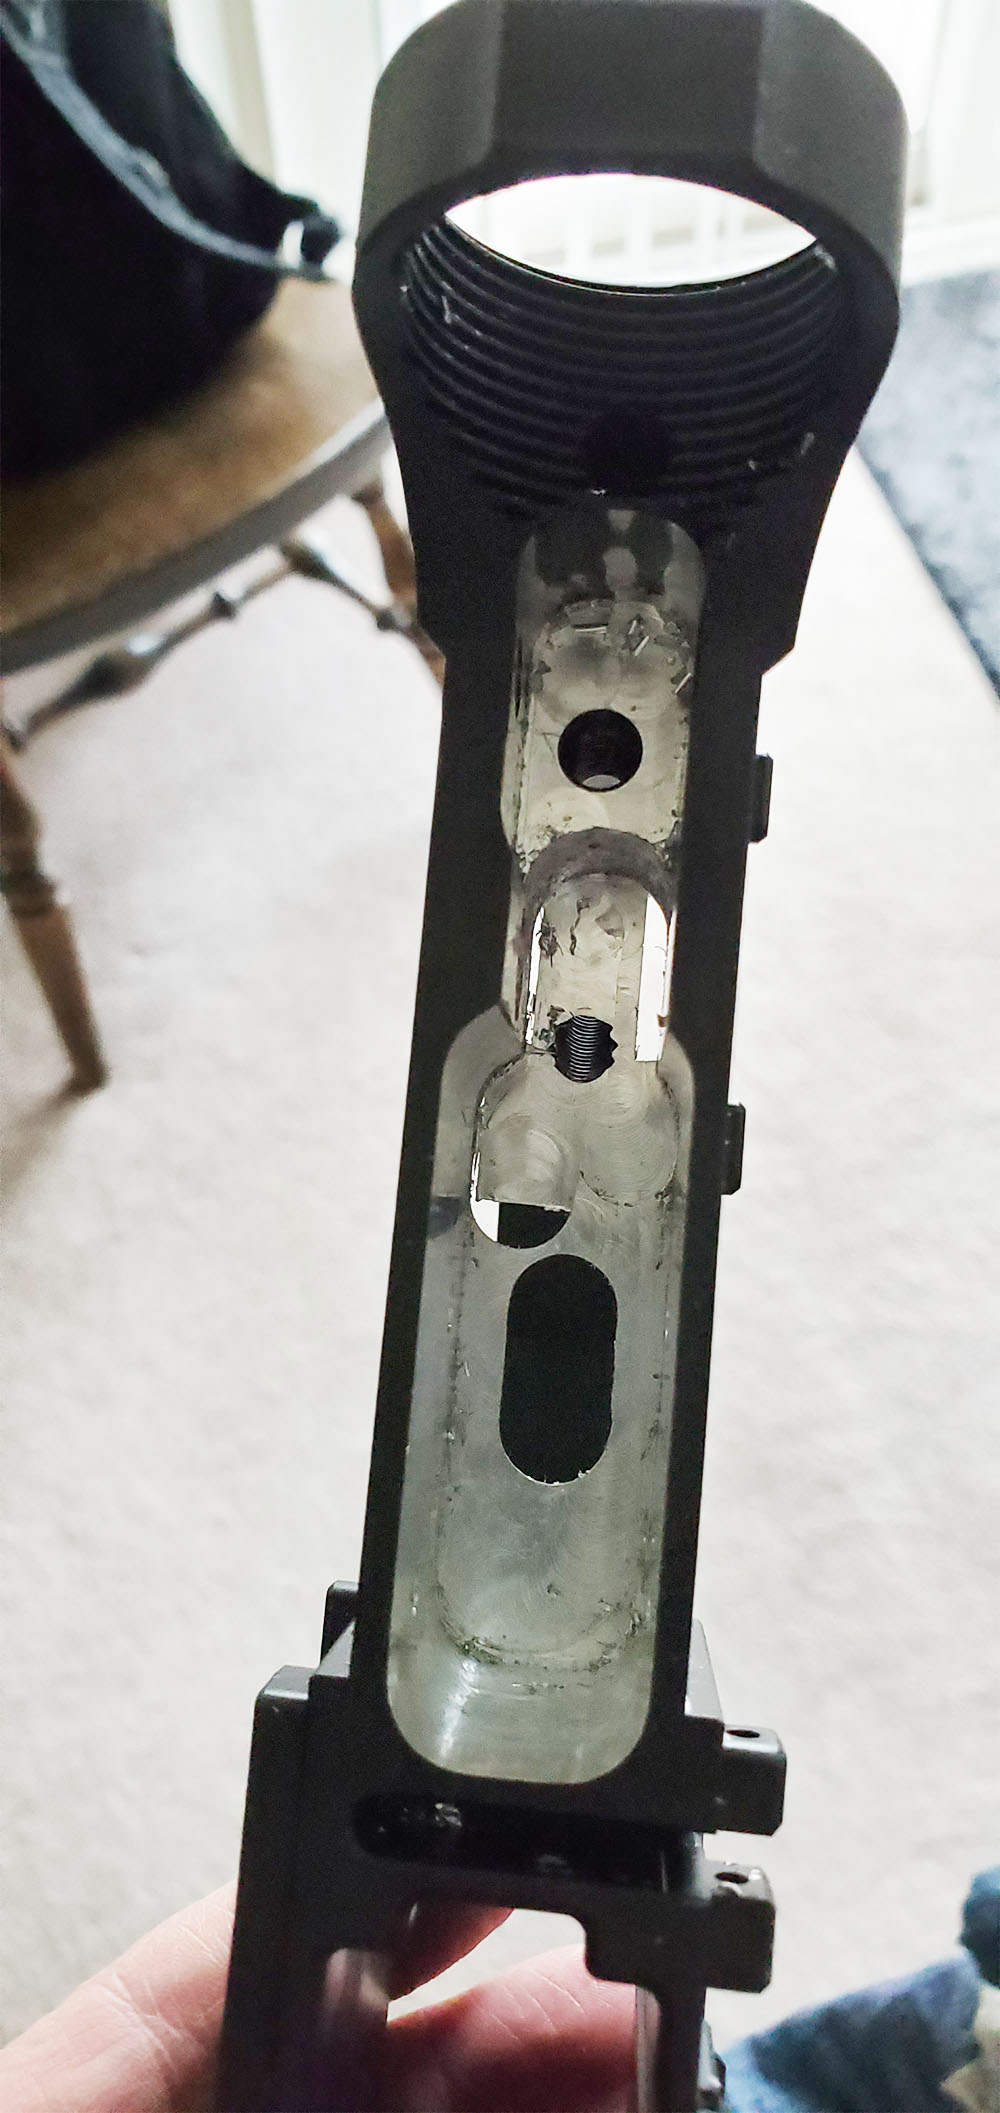
Example 3: Cutting Too Deep
Photo Source: 80 Percent Arms Customer
Designed onto the top plate is easy to read demarcations for each milling step one needs to follow. Each step and hashmark was carefully measured to ensure efficiency and safety for folks working on their lowers.
Be careful when milling out the trigger pocket, one can easily break through the bottom of the pocket, with the potential to make the lower receiver useless. Cutting too deep can either occur from a measurement error or from the router/tooling itself.
If an endmill isn’t tightened enough, it will slowly slip from the router causing someone to cut deeper than intended. Fortunately for those using our jig and lowers, we offer an 80% Replacement Program in which we replace your lower if you ever make a mistake at 50% of the purchase price.
Best Practices
Here is a list of our most commonly given advice to customers who've wrote to us via Customer Service Tickets and from calls made to us over the phone.
Advice 1: Lower your Workstation to Prevent Sidewall Wear
Photo Source: 80 Percent Arms Customer
To help mitigate with wearing out the sidewalls, try lowering your workstation and where your jig is relative to your height and closer to your waistline. We’ve seen that lateral pressure can easily be applied if the jig system is set on a higher work area.
If you are able to, place the vise that’s holding the Gen 2 jig on a lower surface. That way, when you’re drilling out the safety and trigger holes, you can leverage yourself in a way where all the forces you are putting on the drill are downwards.
Advice 2: Measure Thrice, Cut Twice
The old saying goes, “Measure Twice, Cut Once.” However, you should take it a step further! First, ensure proper measurements, go ahead and double-check that:A
A. The endmill is properly tightened
B. The router plate is flush and not at an angle when making your hash mark adjustments
The kicker here is that we’re gonna split each hashmark into half steps instead, where you’ll effectively “Cut Twice”. By doing so, you’re slowing yourself down to make sure measurements are good.
By splitting the distance between each advancement, you’ll actually improve the finish of your lower receiver. This will work as a safety net too so that you’re not moving too much material at a time. Don’t be surprised if you actually achieve a mirror-like finish if you follow this!
Best Practice 1: Slow and Steady Wins the Race
We don’t like repeating what others have to say but slowing down really helps with your end product. We’ve seen many occurrences where someone will start feeling confident in milling with their Gen 2 jig and begin to rush. It only takes a single misstep to potentially leave yourself with a torn-up jig, dulled-out tooling, and an FDE-colored piece of aluminum.
I think everyone’s been in a place where they think a project will take an hour or so while they still have some daylight. Until reality hits and it’s late at night, you’re tired and just want to finish up before you hit the hay.
Personally, I’ve found that all my mistakes come when I hit this specific moment in time. I start rushing, stop caring, and start getting frustrated, all to get the job done. Again, slowing down here will help you reach your end goal. Set everything down for the night and reset for the next day, refreshed.
Best Practice 2: Slower and Wetter Than You Think
No one likes friction. Friction causes heat. Heat causes metals to soften. Softened metals can and will gum up your tools. Take the time between each step to apply copious amounts of WD40. It’s cheap, works both as a fantastic lubricant, and will cool down your 80% lower and tooling.
Once you’re ready to mill the next hashmark, be sure to go slow! This will also help prevent the aluminum from heating up too much. And, as we’ve talked about with “Measure Thrice, Cut Twice”, will result in your trigger pocket having more of a CNC, mirror-like finish.
Enjoying your Easy Jig® Gen2?
We know some of you still love your Gen 2 jig, that’s why we still carry replacement tooling for you to keep the building dream alive. For any reason, you feel it’s time for an ar15 80 lower jig upgrade... Take advantage of this time to upgrade to our latest Easy Jig Gen3!
To learn about some of the differences between the Gen2 and Gen 3 jig you can read our blog about that here:
Easy Jig® Gen 2 vs. Easy Jig® Gen 3.


 Back to List