How To: Dissasemble & Clean an AR-15 BCG (Bolt-Carrier Group)
As reliable as the AR15 platform is, every gun needs cleaning now and then. Even though a properly build AR-15 can go thousands of rounds without cleaning reliably (I've done it), a clean rifle will always be more reliable than a dirty one once lube starts to burn off. Most importantly, how can you flex your expensive bolt-carriers logo, if it's too dirty to be seen? So let's break down cleaning your BCG, from start to finish.
Disassemble Your Rifle
Safety First
Please, PLEASE, before all else, make sure you're being safe. We've all heard of the accidents that happen when someone doesn't properly clear their weapon before cleaning it.
Before anything, make sure the rifle is always pointed in a safe direction. Secondly, drop the magazine. Finally, clear the chamber by cycling the bolt with the charging handle and visually verify that the chamber is clear.
I am somewhat neurotic and will cycle the bolt multiple times, even though I know the weapon is clear. If I set down a weapon even for a second, I'll re-clear it before I go back to cleaning or dry-fire or whatever I was doing. It's better to be overly cautious, than to have not been cautious enough. Keep a perfect safety record.
Disassembly
Thankfully the AR-15 is a simple rifle, and field-stripping it takes all of 10 seconds.
First, make sure the bolt is forward, so the upper and lower receivers can separate.
Second, push out the rear takedown pin.
Third, pull out the entire bolt-carrier with the charging handle.
Cleaning Your Bolt-Carrier (BCG)
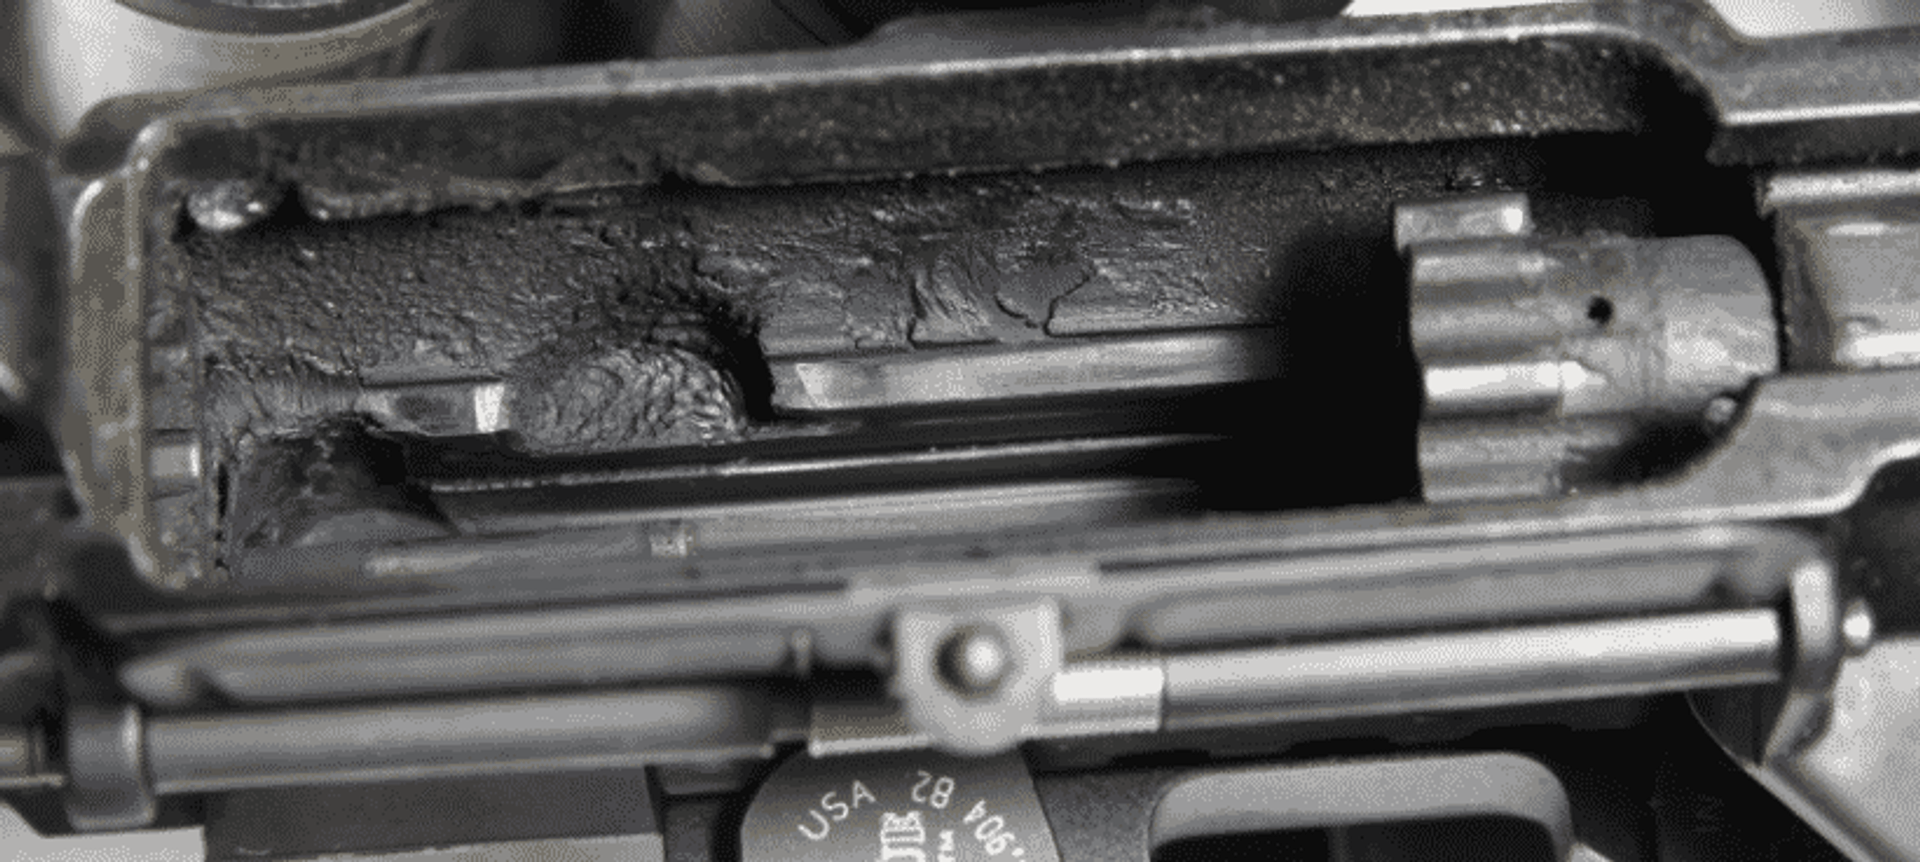
This looks pretty dirty, but it's only a few hundred rounds.
Disassembly of a BCG
First, remove the firing pin retaining pin which is located on the side of the bolt carrier that does not have the forward assist serrations. This can be done using a pair of needle-nose pliers, a pick, a pen, the tip of a bullet, or other tools capable of gripping the small pin.
After removing the retaining pin, the firing pin should easily slide out. If there is carbon build up that prevents the firing pin from sliding out (like there was on mine), you can easily remove it by tapping the bolt carrier on to the table or using your finger to pry it out.
The next disassembly step includes removing the cam pin. This pin is located underneath the gas key and fits into the bolt. In order to remove this pin, you will need to make sure the bolt is pushed inward. You will then need to rotate the cam pin about ninety degrees so that the rectangular head of the pin is parallel with the bolt carrier. After rotating the pin, you will be able to pull it out. After removing the cam pin, the bolt will easily slide out.
Cleaning a BCG
To set up your BCG cleaning workspace it is helpful to lay down plastic, such as a piece of plastic wrap, or a small garbage bag. This makes clean-up quick and easy.
The best way to begin cleaning your bolt carrier group is to rub a small layer of CLP or other type of gun cleaning solvent on each of the BCG parts. If you have a significant amount of carbon build-up, it will be helpful to let the CLP sit on each of the parts for a few minutes.
After allowing time for the cleaning solvent to break down the carbon, you will need to work on some of the difficult to reach locations. Cotton swabs are great for helping you clean the inside of the bolt carrier as well as on the bolt. Dip your cotton swabs in the cleaning solvent while wiping the areas with more carbon build up.
After cleaning the smaller areas of your BCG, make sure to rub down each part, including the firing pin, retaining pin, and cam pin to remove any remaining carbon build up. You can do this with an old toothbrush, cotton patches, or cut up pieces of an old t-shirt. Once you have removed all the carbon, do a final wipe down of each part with a clean cloth or old t-shirt.
Lubricating Your BCG
Before reassembling your BCG, you need to oil each part. Having a properly oiled bolt carrier group will help your AR-15 run more efficiently. The general rule of oiling is to place oil in any location where there will be metal on metal contact. You can use a little CLP or any specialized firearm lubricant. I personally prefer an oil with a needle tip applicator which makes it easy to apply in areas that are more difficult to reach.
After lubricating each part, your BCG is ready for reassembly and another day out on the range.
Want to Learn More?
If you want to learn more, keep an eye on our blog. We have weekly posts, and will be rapidly expanding our "how-to" section for the next generation of gun owners!


 Back to List